


Rolling the perfect joint is an art form. Whether you’re a seasoned smoker, a curious beginner, or a cannabis collector who appreciates the culture, a well-crafted joint is one of the most iconic parts of the cannabis world.
But rolling a joint isn’t just about stuffing herb into paper — it’s about airflow, structure, consistency, and technique. With the right approach, anyone can create a slow-burning, smooth, beautifully shaped joint that feels professionally done.
Let’s break it down.
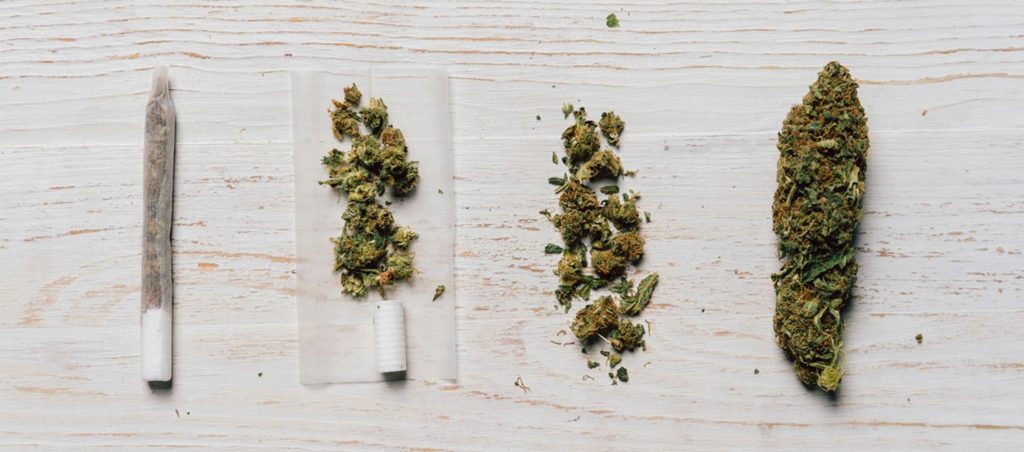
Rolling papers (hemp, rice, or wood-pulp)
Filter tip / roach
Herbal blend or legal smoking botanicals
Grinder
Flat surface
Visit Seedsplease Seedbank for our exclusive menu of Auto Fem and Feminized Cannabis Seeds. Sativa, Indica & CBD strains available. Click Here.
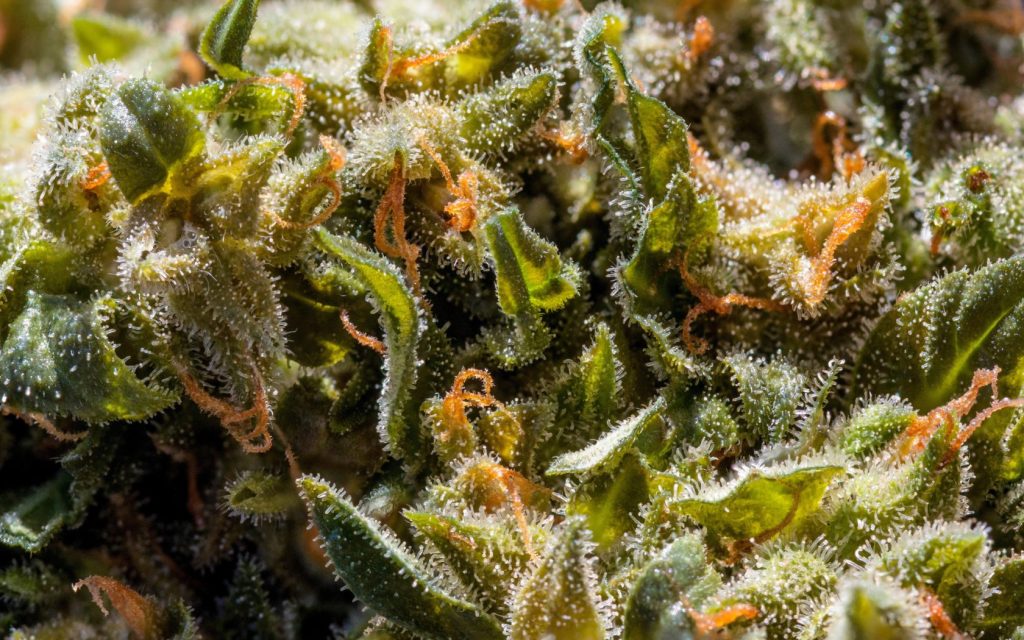
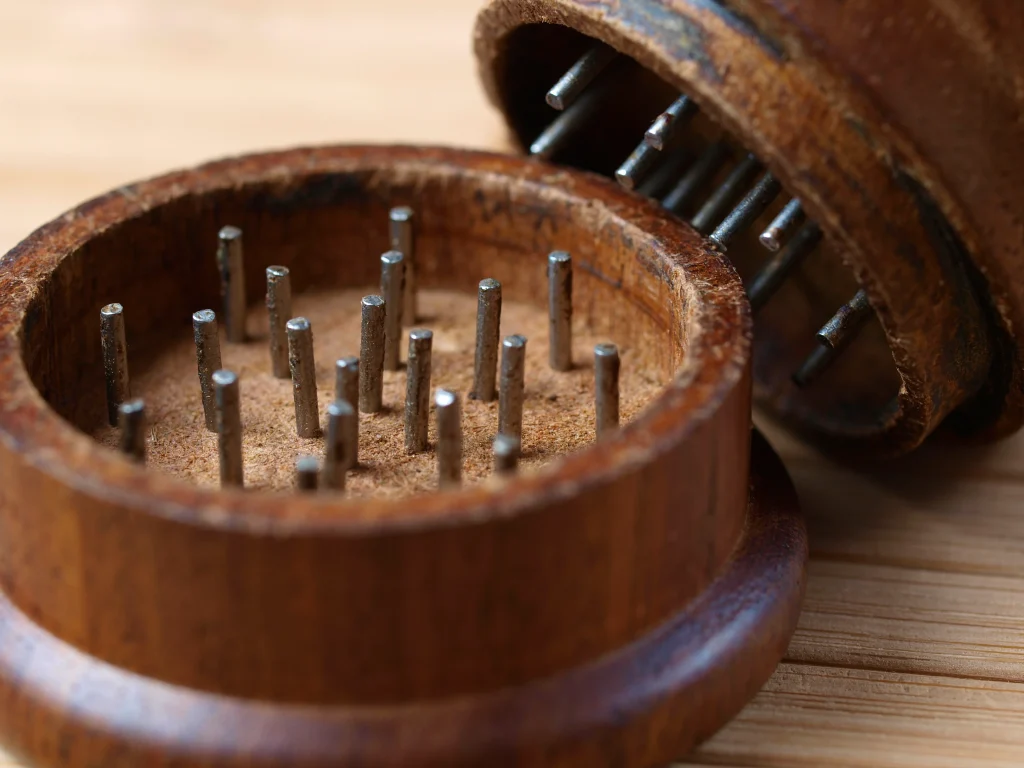
A perfect joint starts with the perfect grind.
You want your material fluffy, not dusty. Too fine and it burns hot; too chunky and airflow suffers.
Goal: A light, airy grind that sticks together just enough to form shape.
Pro tip: Tap the grinder lightly after twisting — this brings the lighter pieces to the top.
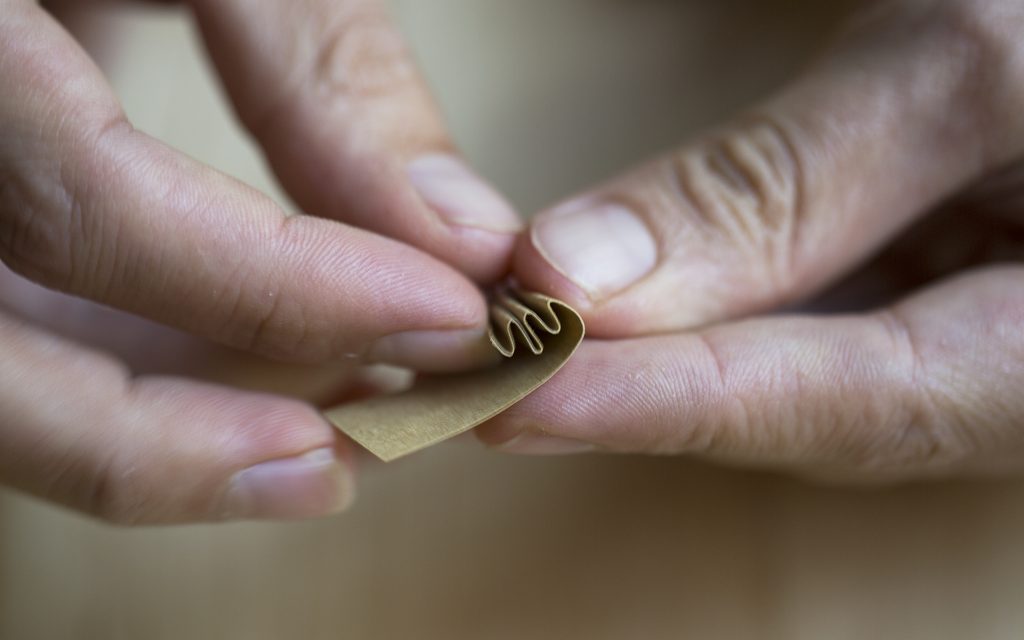
The filter (aka roach) isn’t just there to hold — it creates structure and improves airflow.
How to do it:
Fold a few small accordion-style pleats at one end.
Roll the rest into a firm cylinder.
Place it at one end of your paper.
A good filter keeps your joint open, prevents herb from entering your mouth, and gives stability for rolling.
Lay the paper with the glue strip facing up and away.
Spread your ground material evenly along the crease — slightly more in the middle, less at the ends.
This helps create the classic cone shape most people prefer.
Avoid overpacking.
More material does not equal a better joint — airflow is everything.
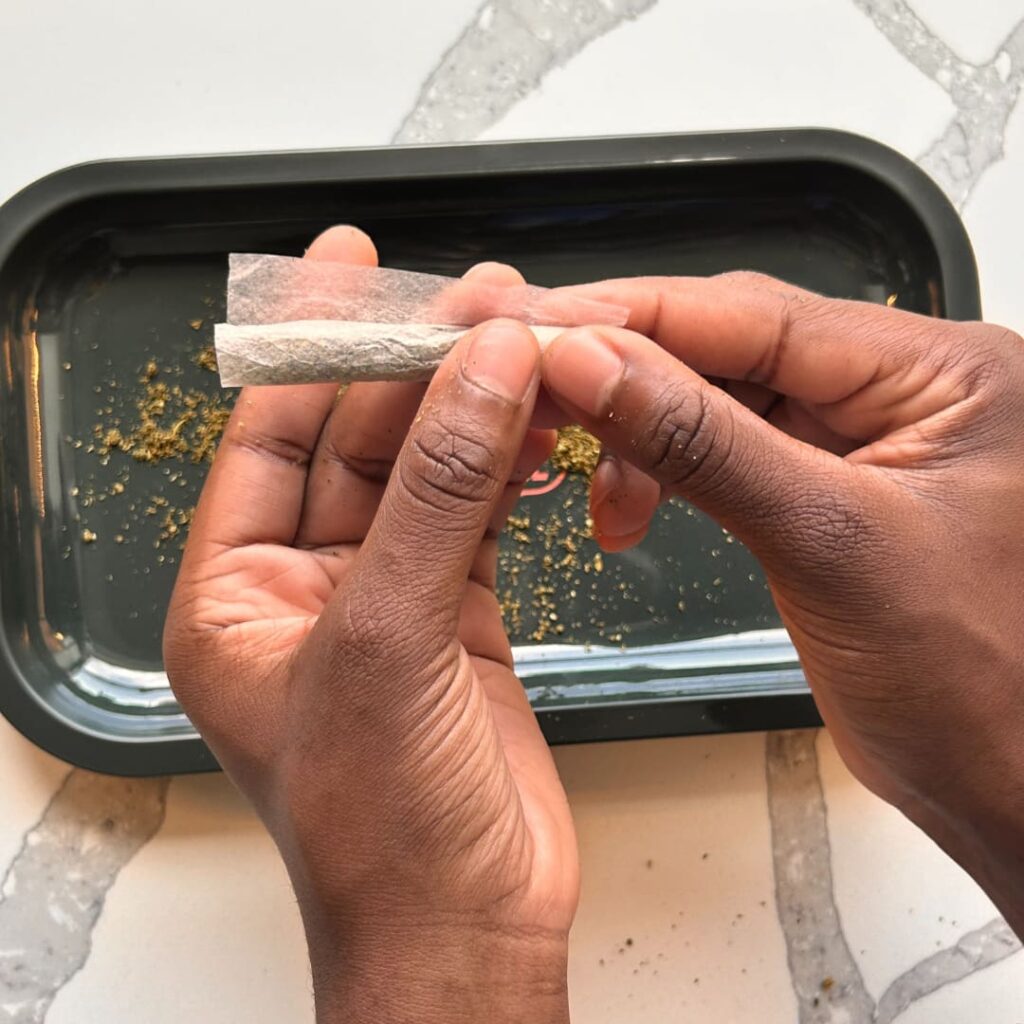
Now for the part that separates beginners from pros: the tuck.
Pinch the paper between your fingertips.
Gently rock it back and forth to shape the joint.
Tuck the non-glue side under the material first.
Roll upward slowly and evenly.
If you can master this motion, you can roll anything — cones, cannons, you name it.
Once the joint is shaped and tucked:
Slowly roll to the glue line
Lick the glue strip lightly
Seal from the filter end upward
If you sealed cleanly and evenly, you’re in the top 5% of rollers.
If not — don’t stress. Every joint teaches you something.
Use something thin (pen tip, chopstick, key) to pack the open end.
This compresses the material gently and ensures smooth airflow.
Twist the end closed — but don’t over-twist or you’ll restrict airflow.
Rolling the perfect joint isn’t about speed — it’s about balance, airflow, and technique. The more you practice, the better your hands become at reading the paper, shaping the cone, and building a joint that burns slow, smooth, and evenly.
Whether you’re rolling for yourself or showing off to friends, a well-made joint is a small work of art — and now you’ve got the blueprint to master it.