

If you’ve ever dreamed of growing your own cannabis, you’re not alone. Thanks to legalization and home-grow laws in many regions, more people than ever are cultivating at home — saving money, exploring new genetics, and gaining a deeper appreciation for the plant itself. Whether you’ve got a spare room, a balcony, or a backyard, this guide will help you get started with confidence.
Before you pop any seeds, it’s essential to understand your local laws. In many areas, adults can grow a limited number of plants for personal use, but rules around plant count, visibility, and security vary. Always double-check — it’s better to stay compliant than risk fines or worse.
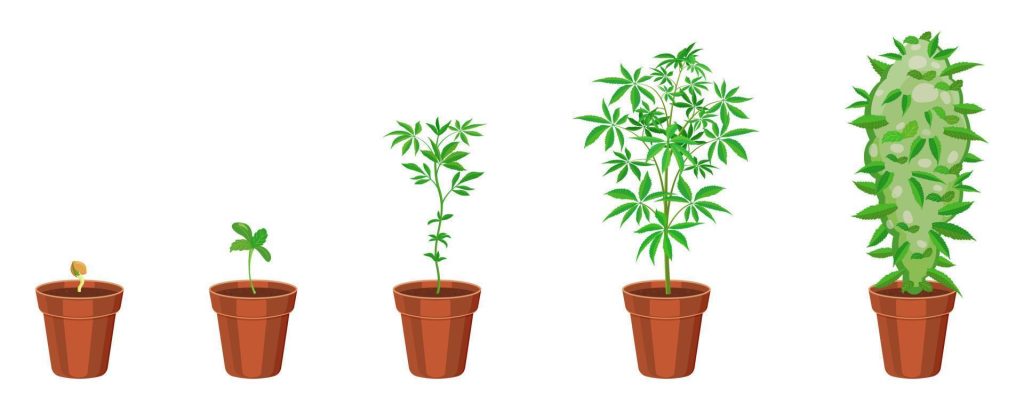
The foundation of any good grow starts with quality genetics. You’ll see three main types of cannabis seeds:
If you’re just starting out, autoflower feminized seeds are the easiest and most forgiving.
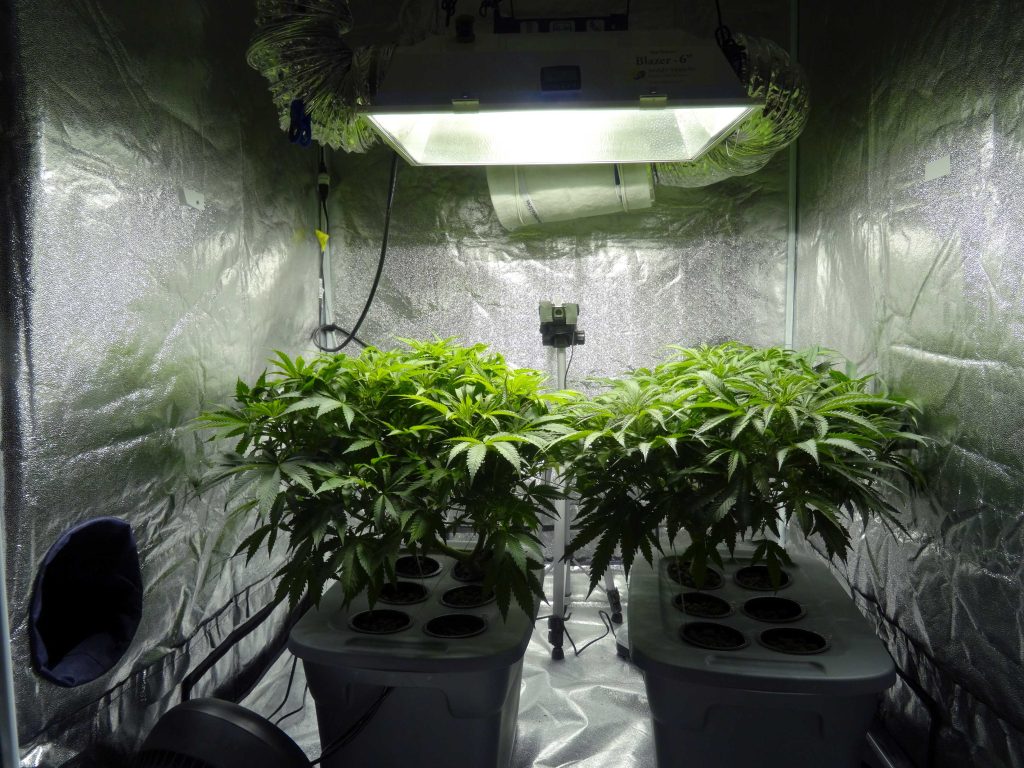
You don’t need a fancy setup to grow healthy cannabis. The key is control — over light, air, temperature, and humidity.
Remember, plants can double in size after switching to flowering, so give them enough space to stretch.
Light is life for your plants. Indoors, aim for:
Keep the temperature around 22–28°C (72–82°F) during the day and slightly cooler at night. Humidity should be higher for young plants (60–70%) and gradually reduced to around 40–50% in flowering to prevent mold.
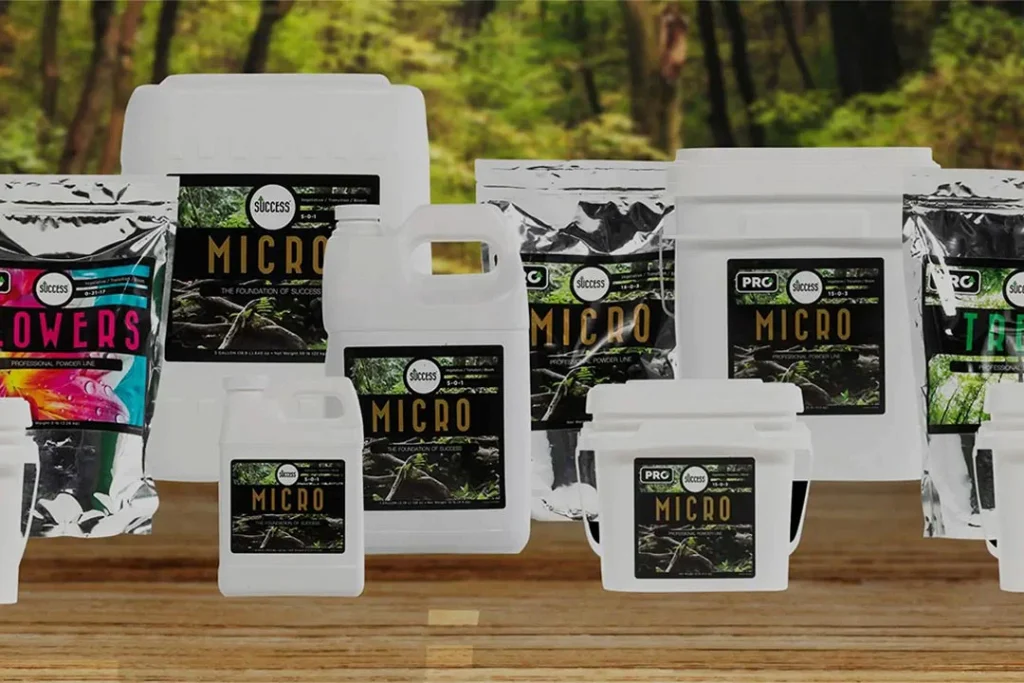
Cannabis plants need nutrients — mainly nitrogen (N), phosphorus (P), and potassium (K). Many grow shops sell complete nutrient kits designed for each growth stage.
The golden rule for watering: don’t overdo it. Let the top inch of soil dry before watering again. Overwatering is the most common beginner mistake — roots need oxygen as much as water.
Your plants will “talk” to you. Yellowing leaves, drooping, or burnt tips can all signal nutrient or watering issues. Keep notes on how they respond — you’ll get better with each grow.
When the white pistils on your buds start turning amber and the trichomes look cloudy under a magnifying glass, it’s time to harvest. Cut your plants, hang them upside down in a cool, dark space, and dry them for about a week. Then cure the buds in glass jars for another few weeks — this step improves flavor, potency, and smoothness.
Growing cannabis at home is both science and art. It takes patience and observation, but the reward — harvesting your own fresh, aromatic buds — is worth every minute. Start small, keep it simple, and let your plants teach you. Before long, you’ll be talking light spectrums and terpene profiles like a seasoned grower.